What makes an award winning race car?
Oregon State University's Global Formula Racing team approached me to create an animation to show just that.
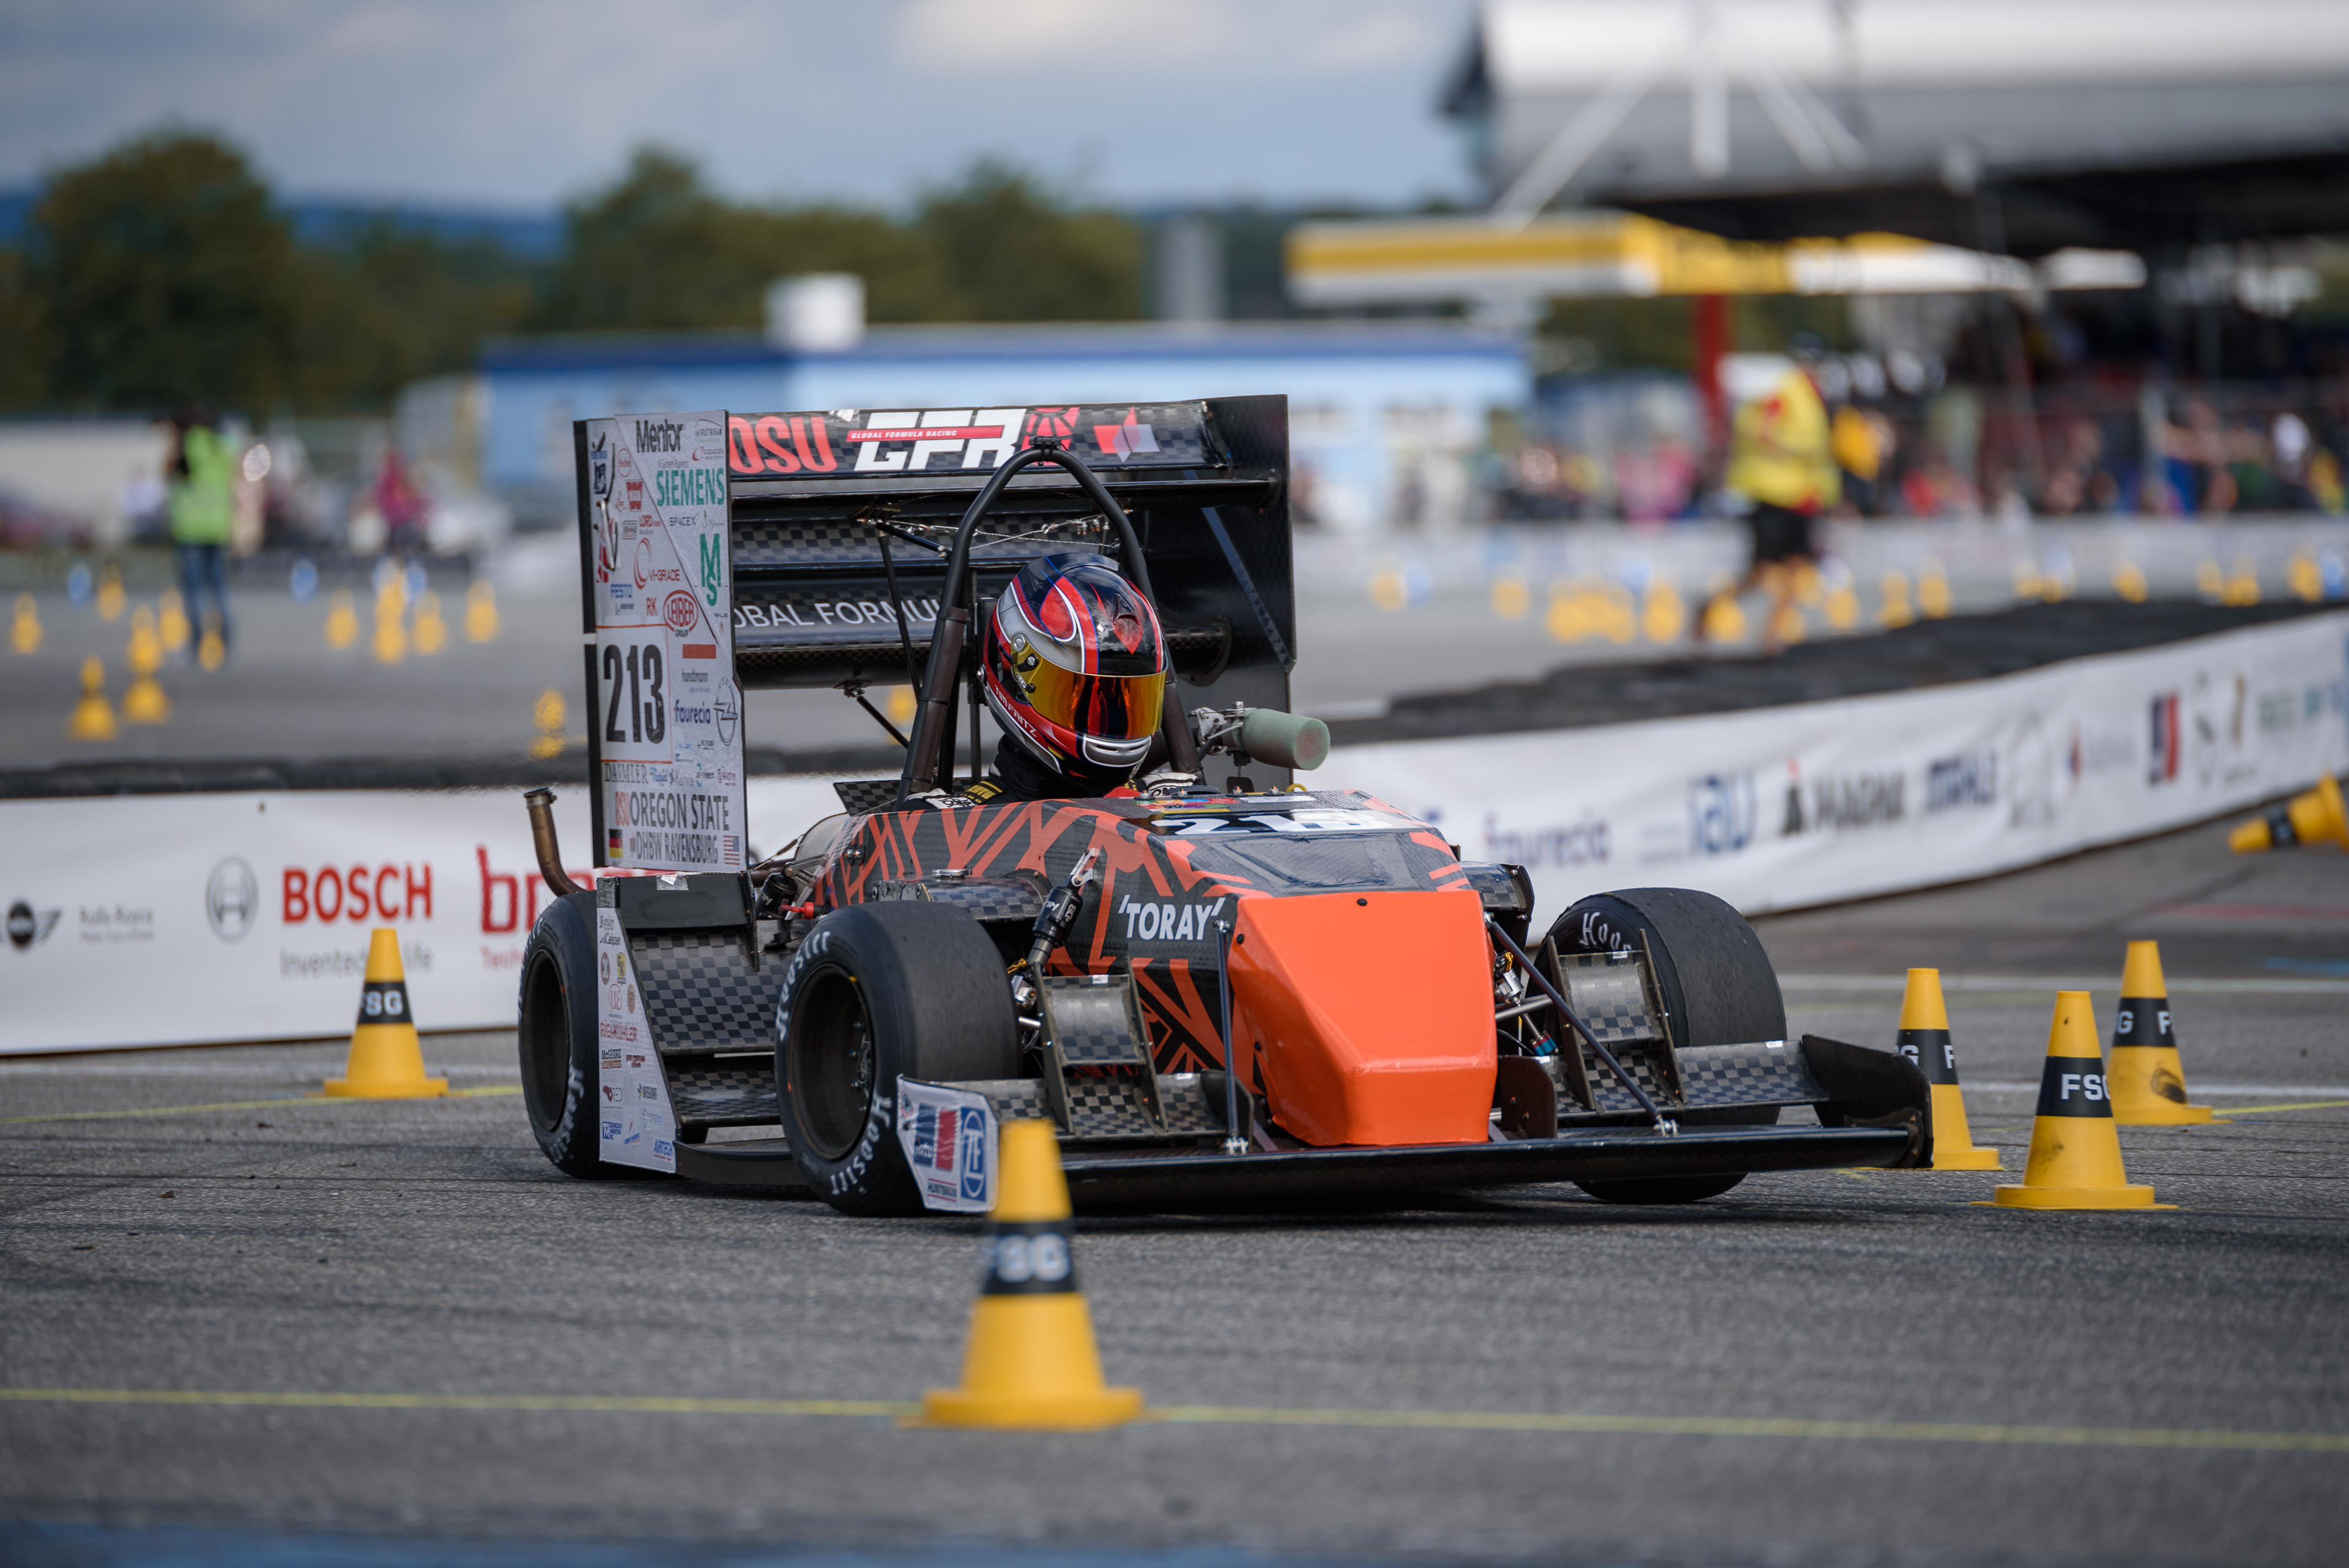
Global Formula Racing is an international cooperation between the BA Racing Team from Duale Hochschule Baden-Württemberg-Ravensburg (DHBW), Germany, and the Beaver Racing Team from Oregon State University (OSU), USA. Every summer GFR ships their car to Germany and races it against hundreds of other universities. As part of the competition, they are judged on a mock business presentation in which they pitch the car to "investors"(judges) in hopes of acquiring funds to mass produce their car and sell it on the market to weekend racers.
For this competition, GFR needed an explainer graphic that matched the level of quality and performance that the GFR17c car displays. This was the result:
My Roles
Design
Animation
Compositing
Sound Design
Sound Design
Special Thanks To
BEHIND THE SCENES
REFERENCE MATERIAL
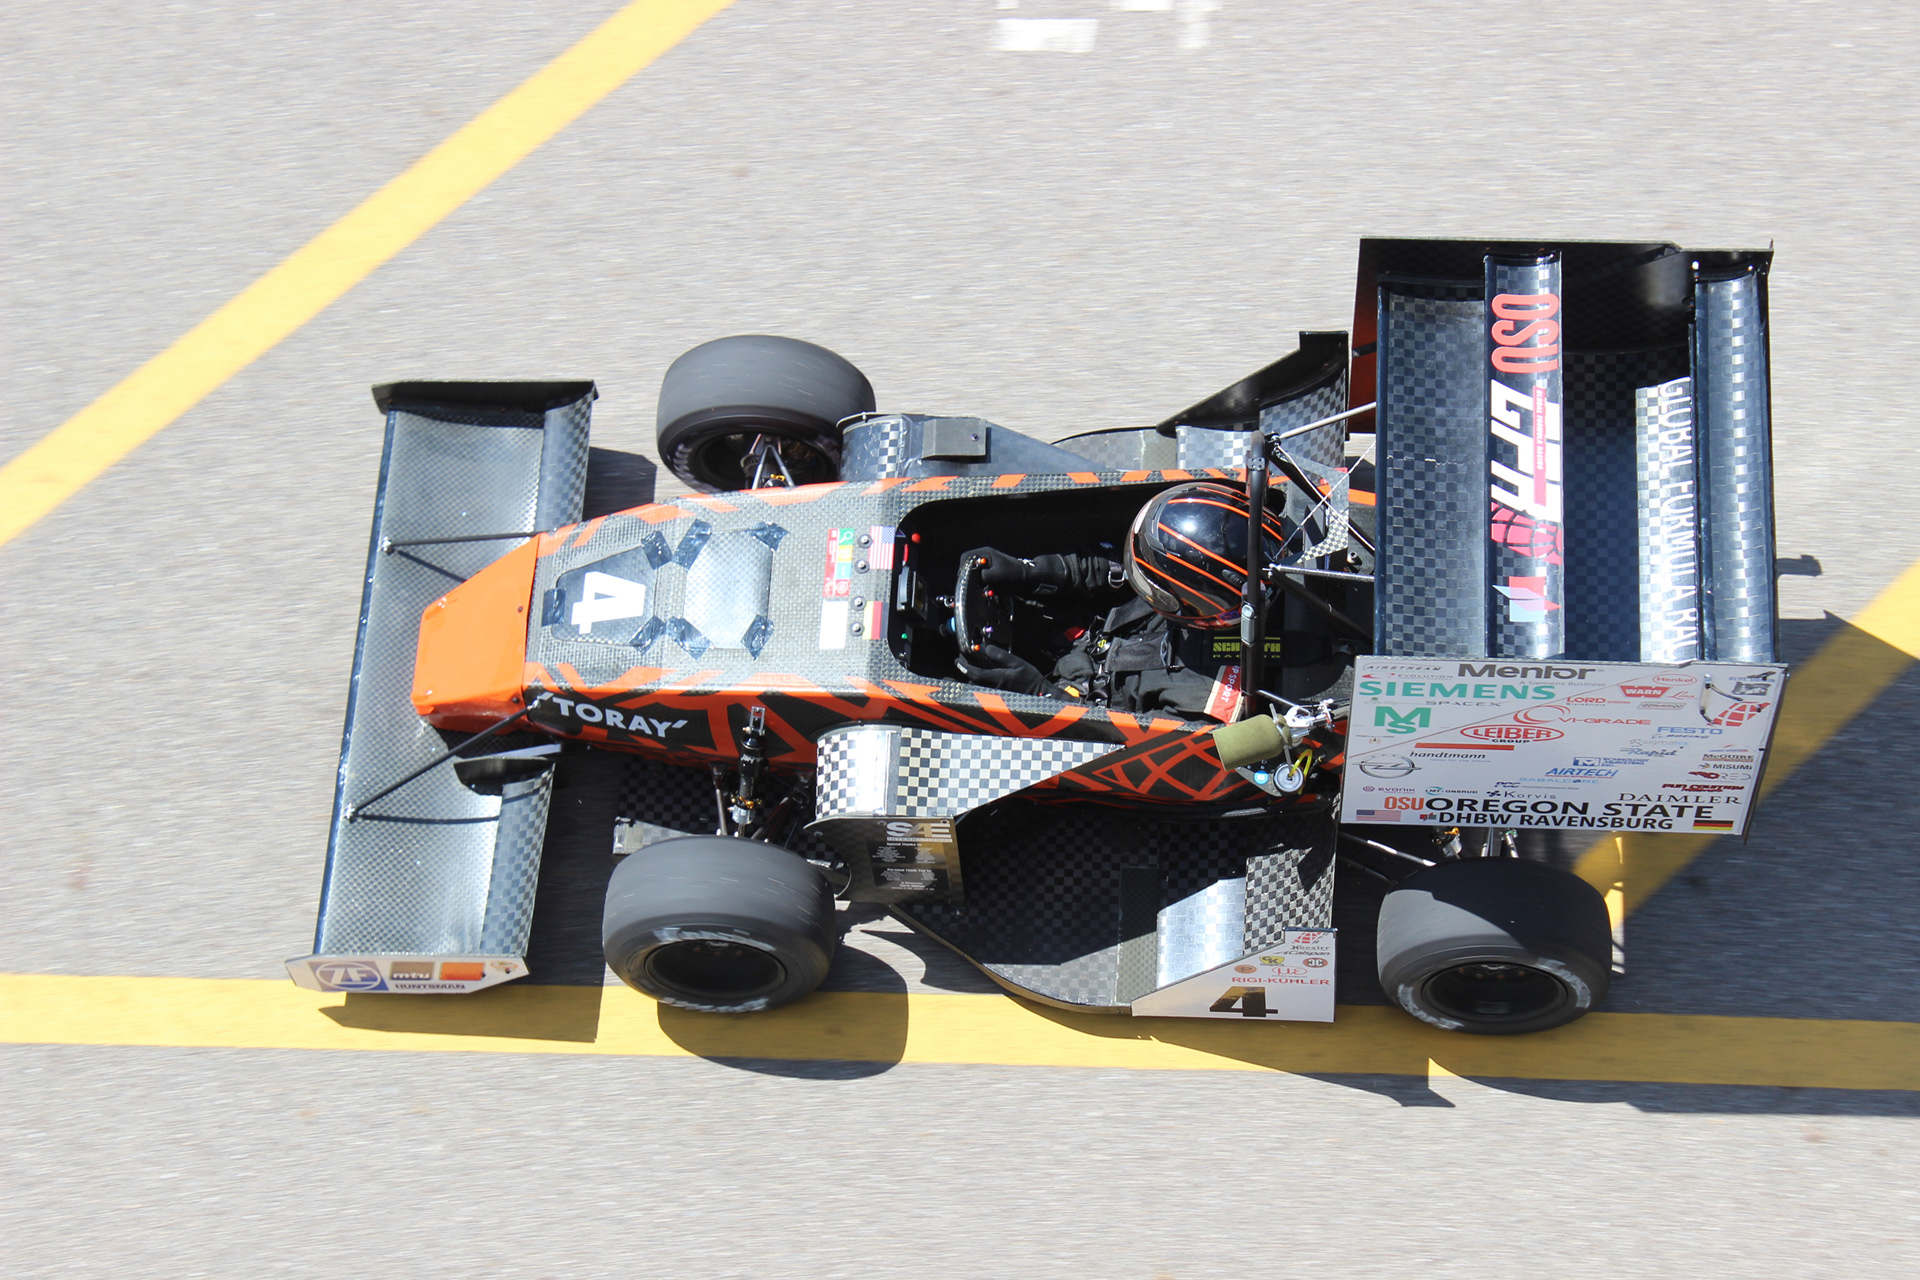
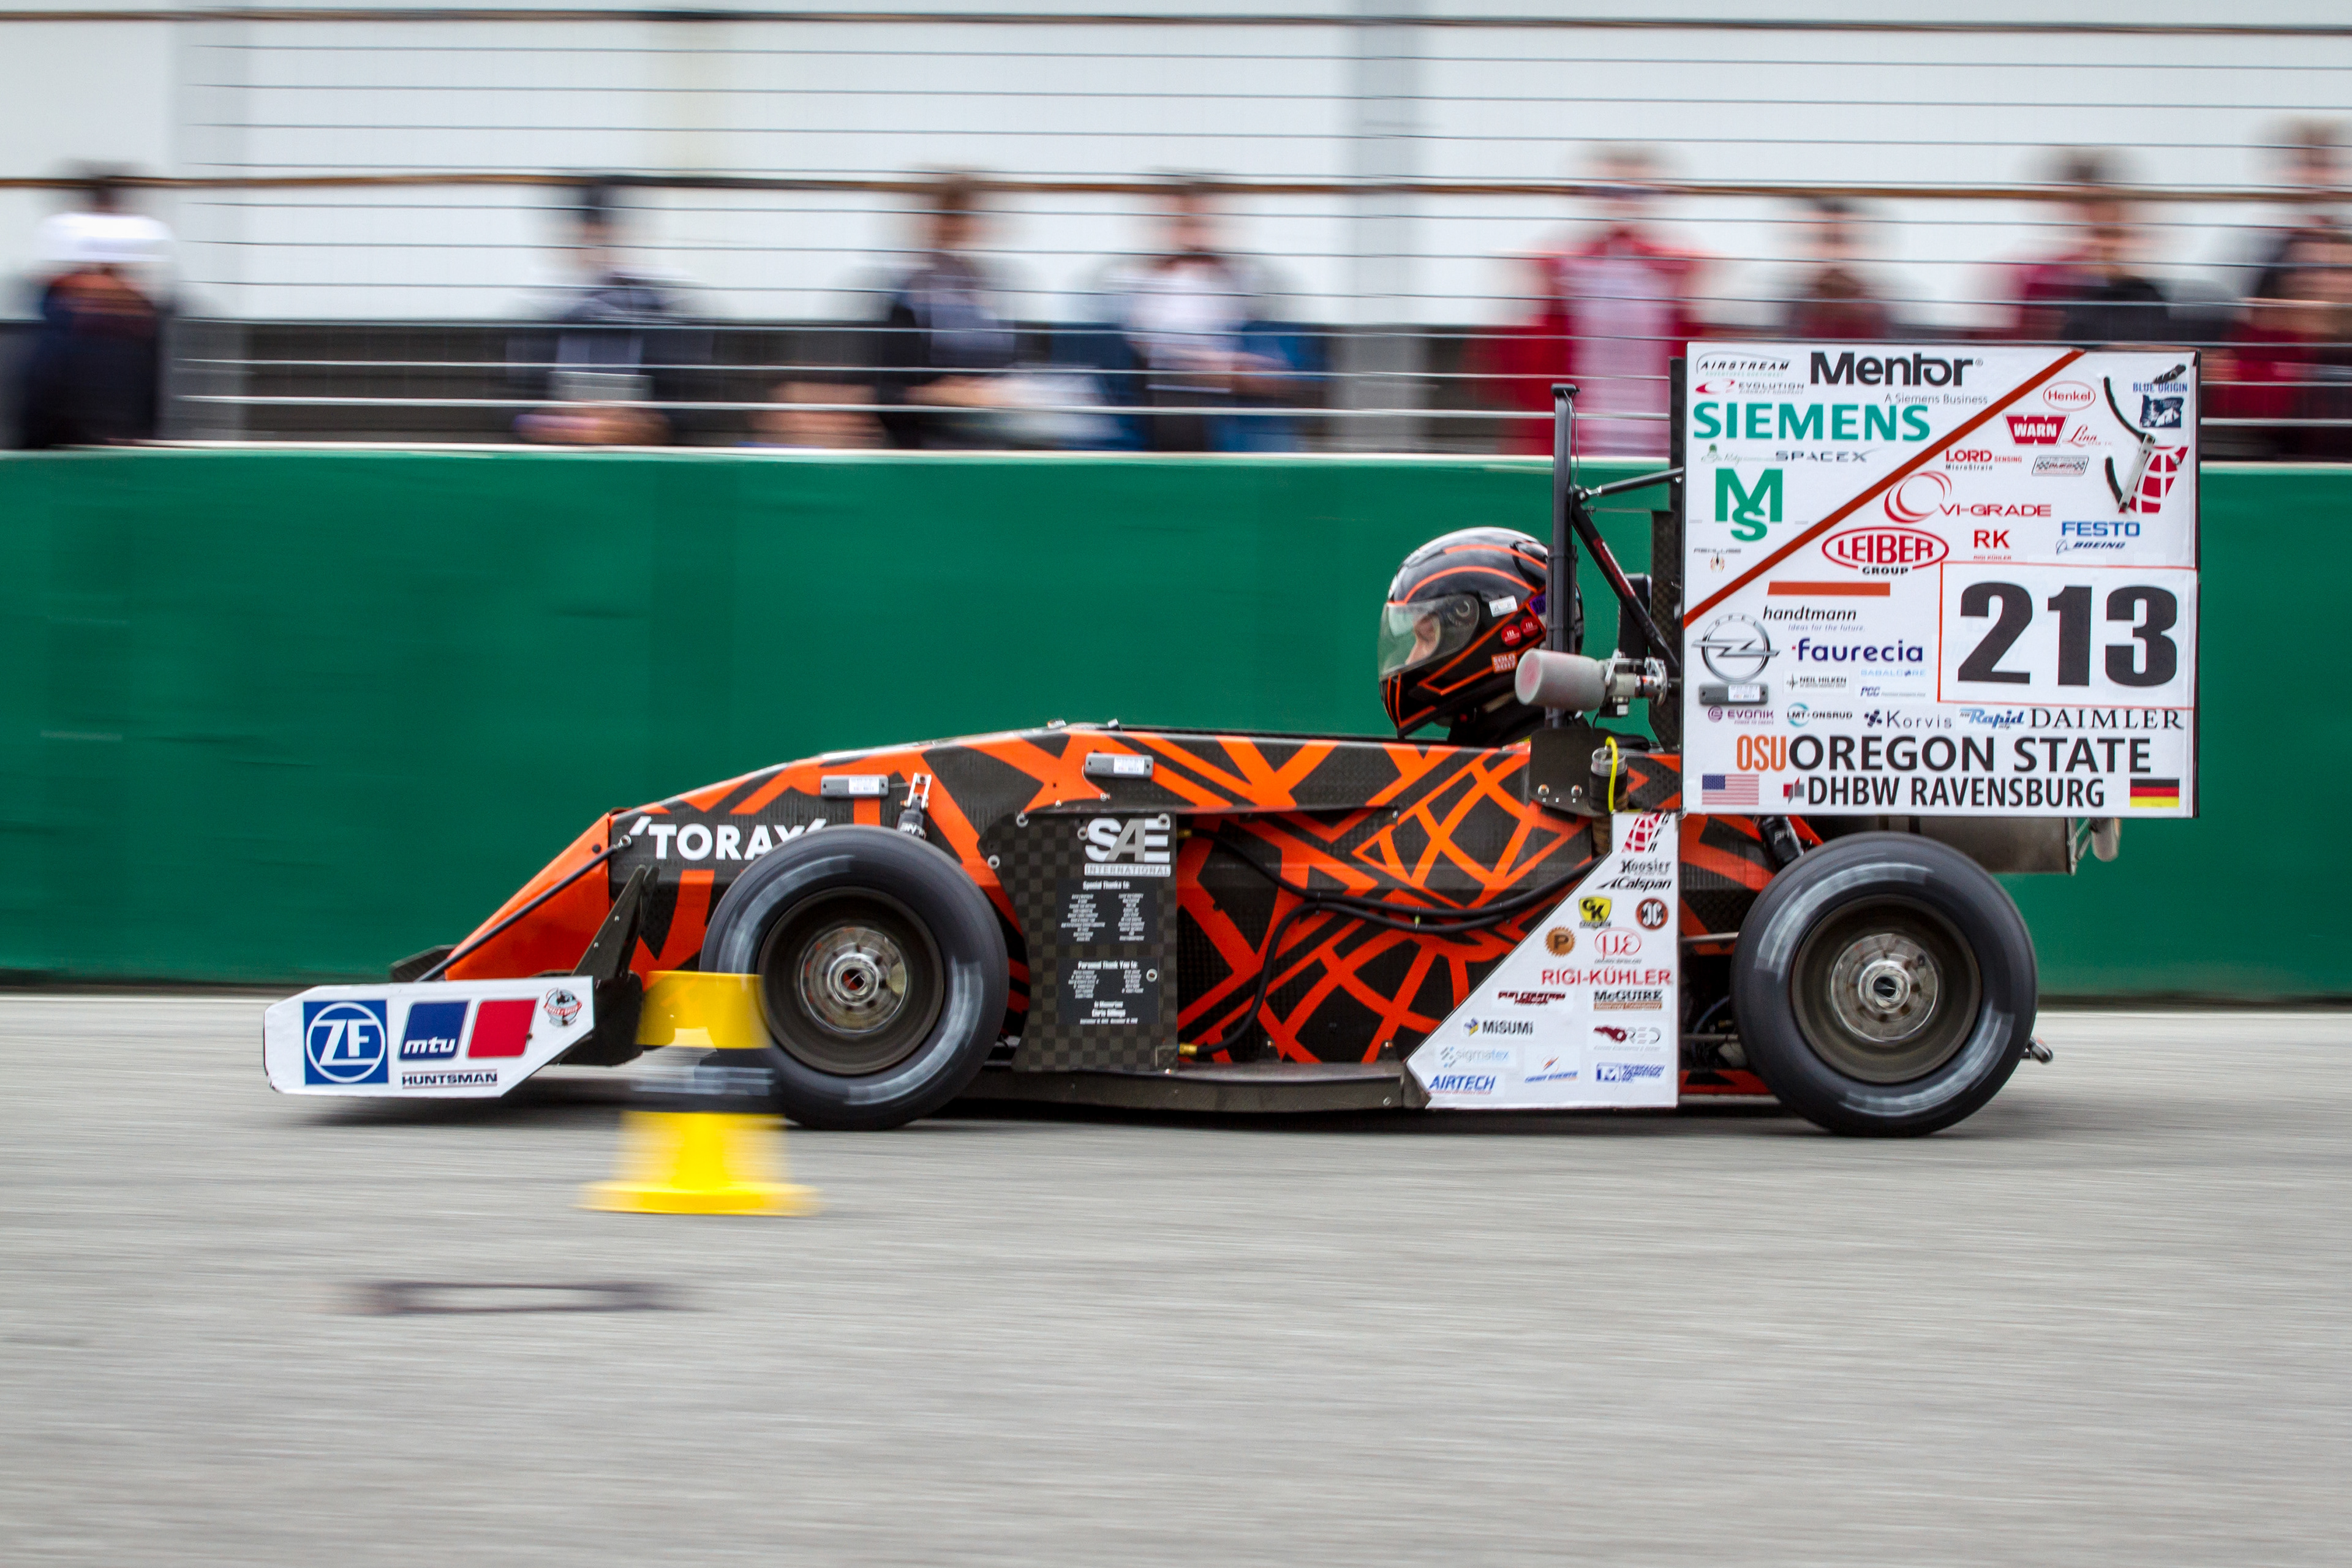
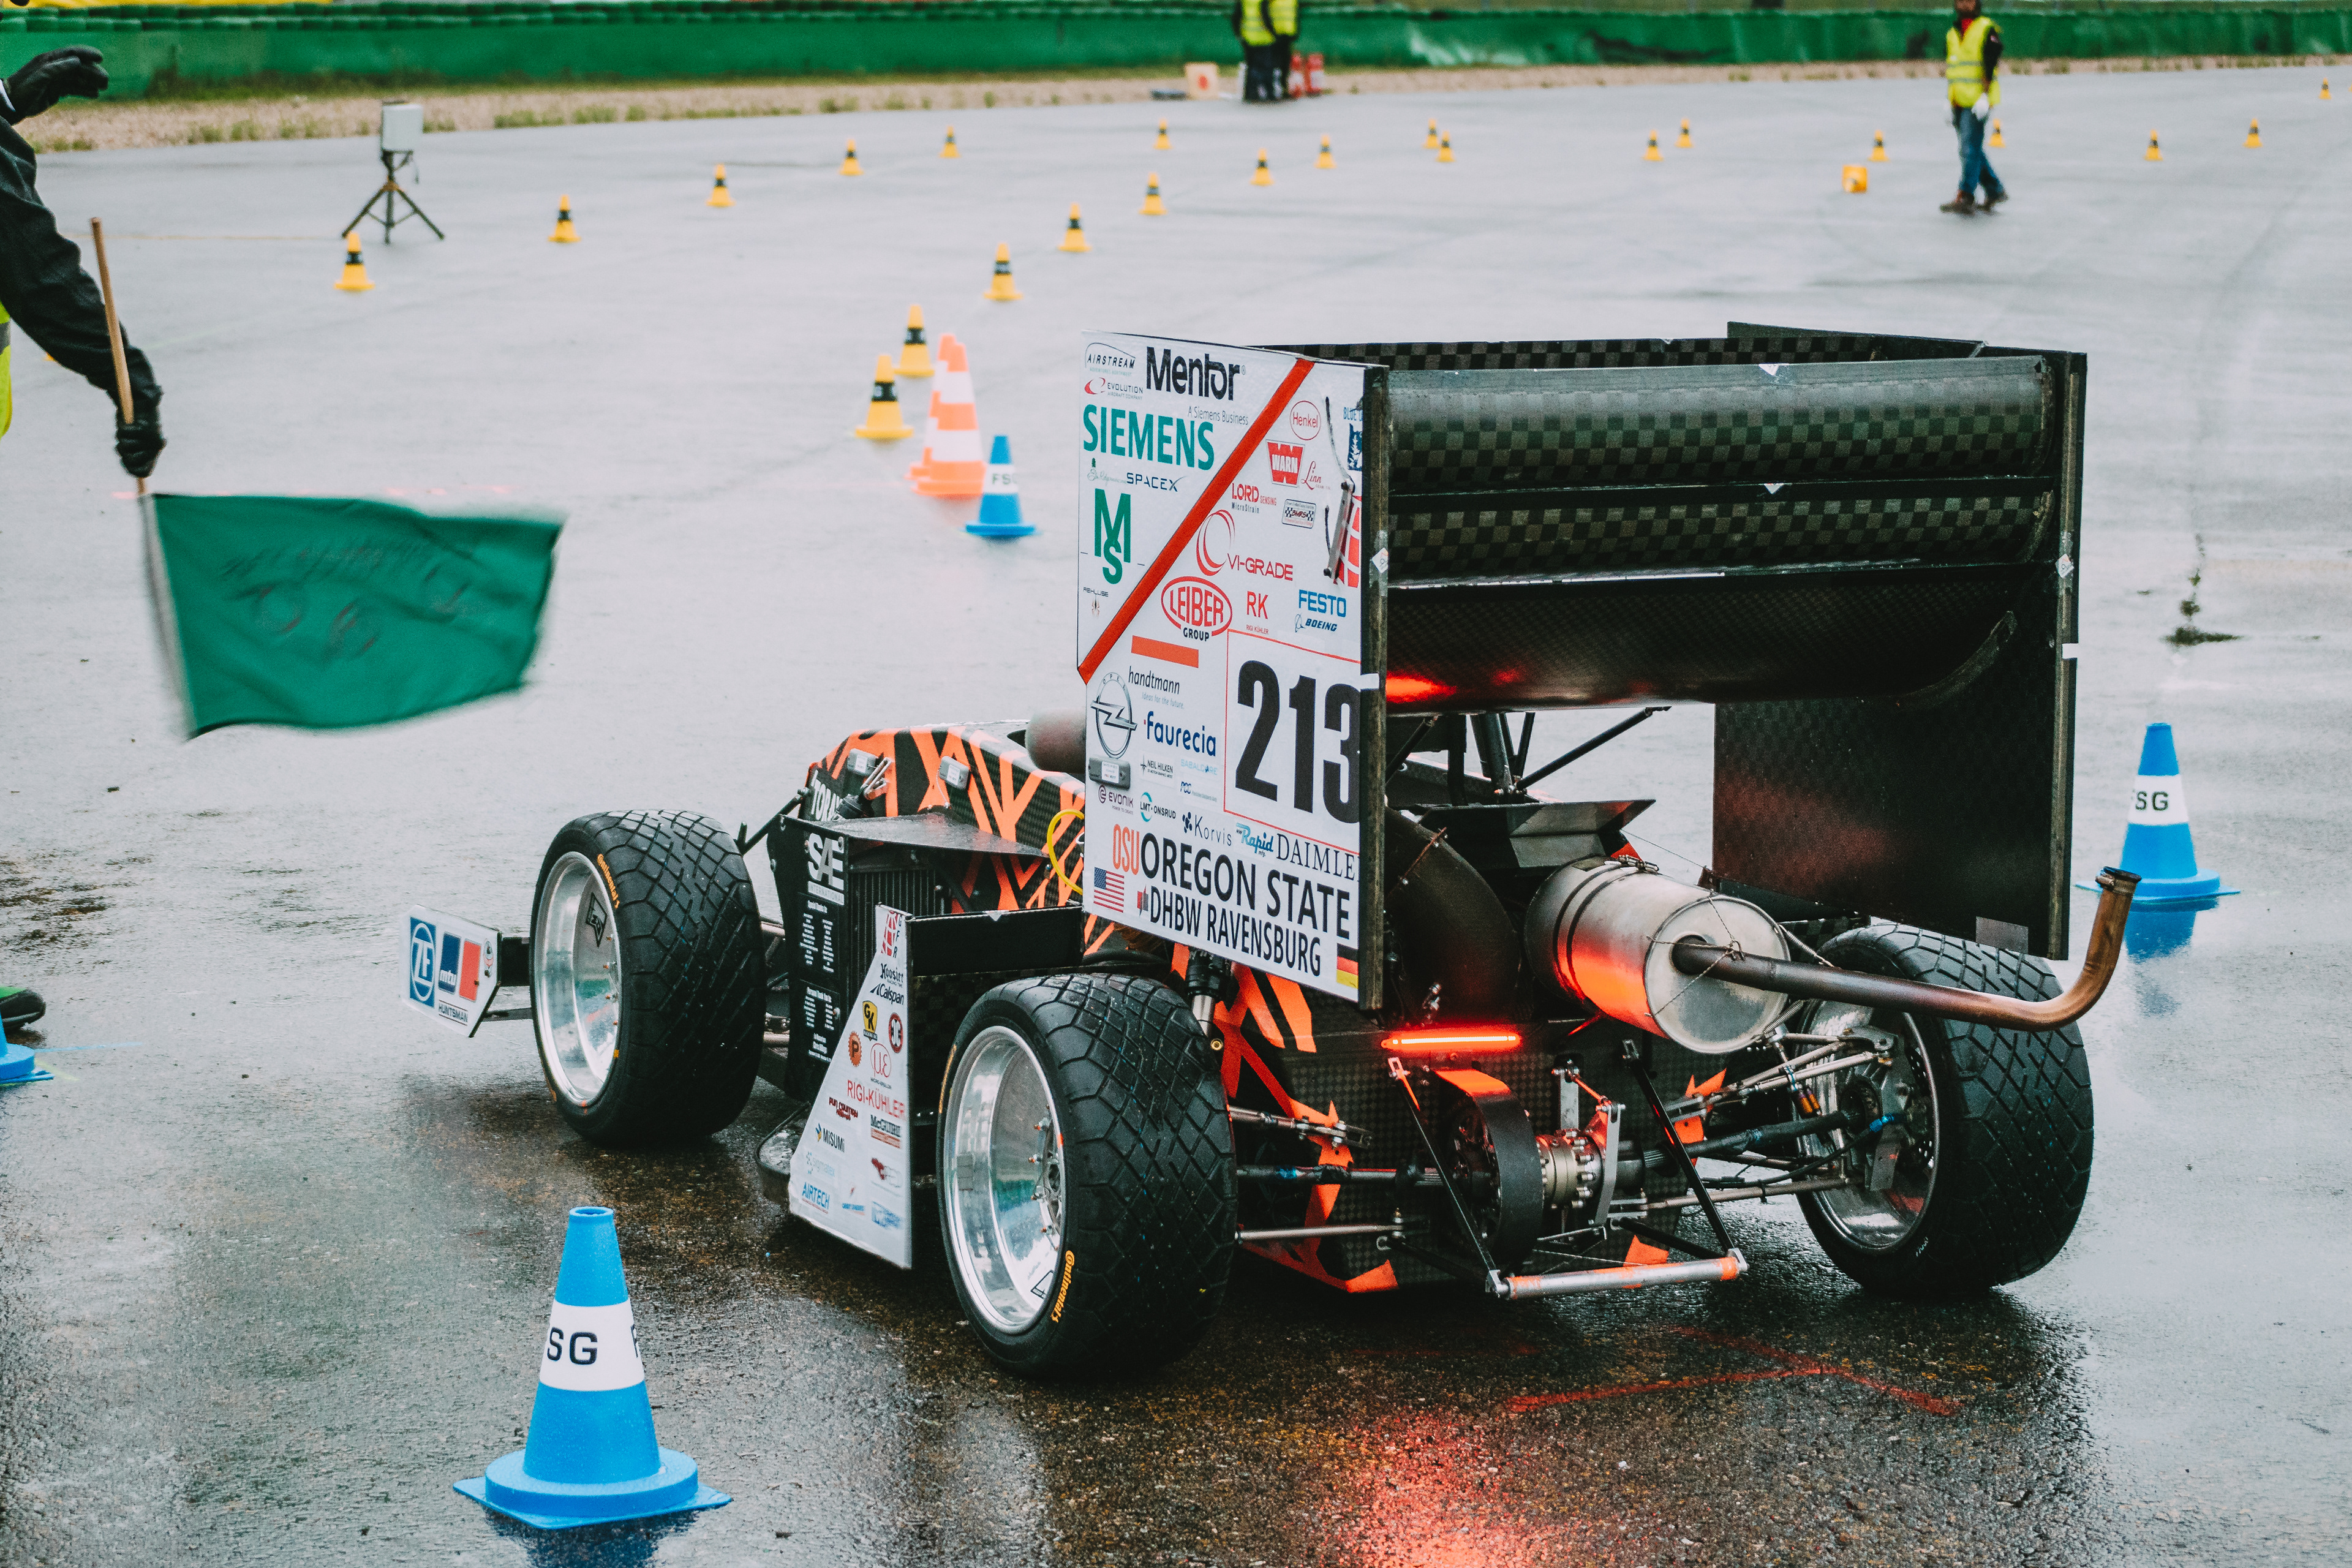
To start this project off, I was given:
-Reference photos
- The 3D CAD model of the GFR17c
-An audio clip to time the animation with the voice over
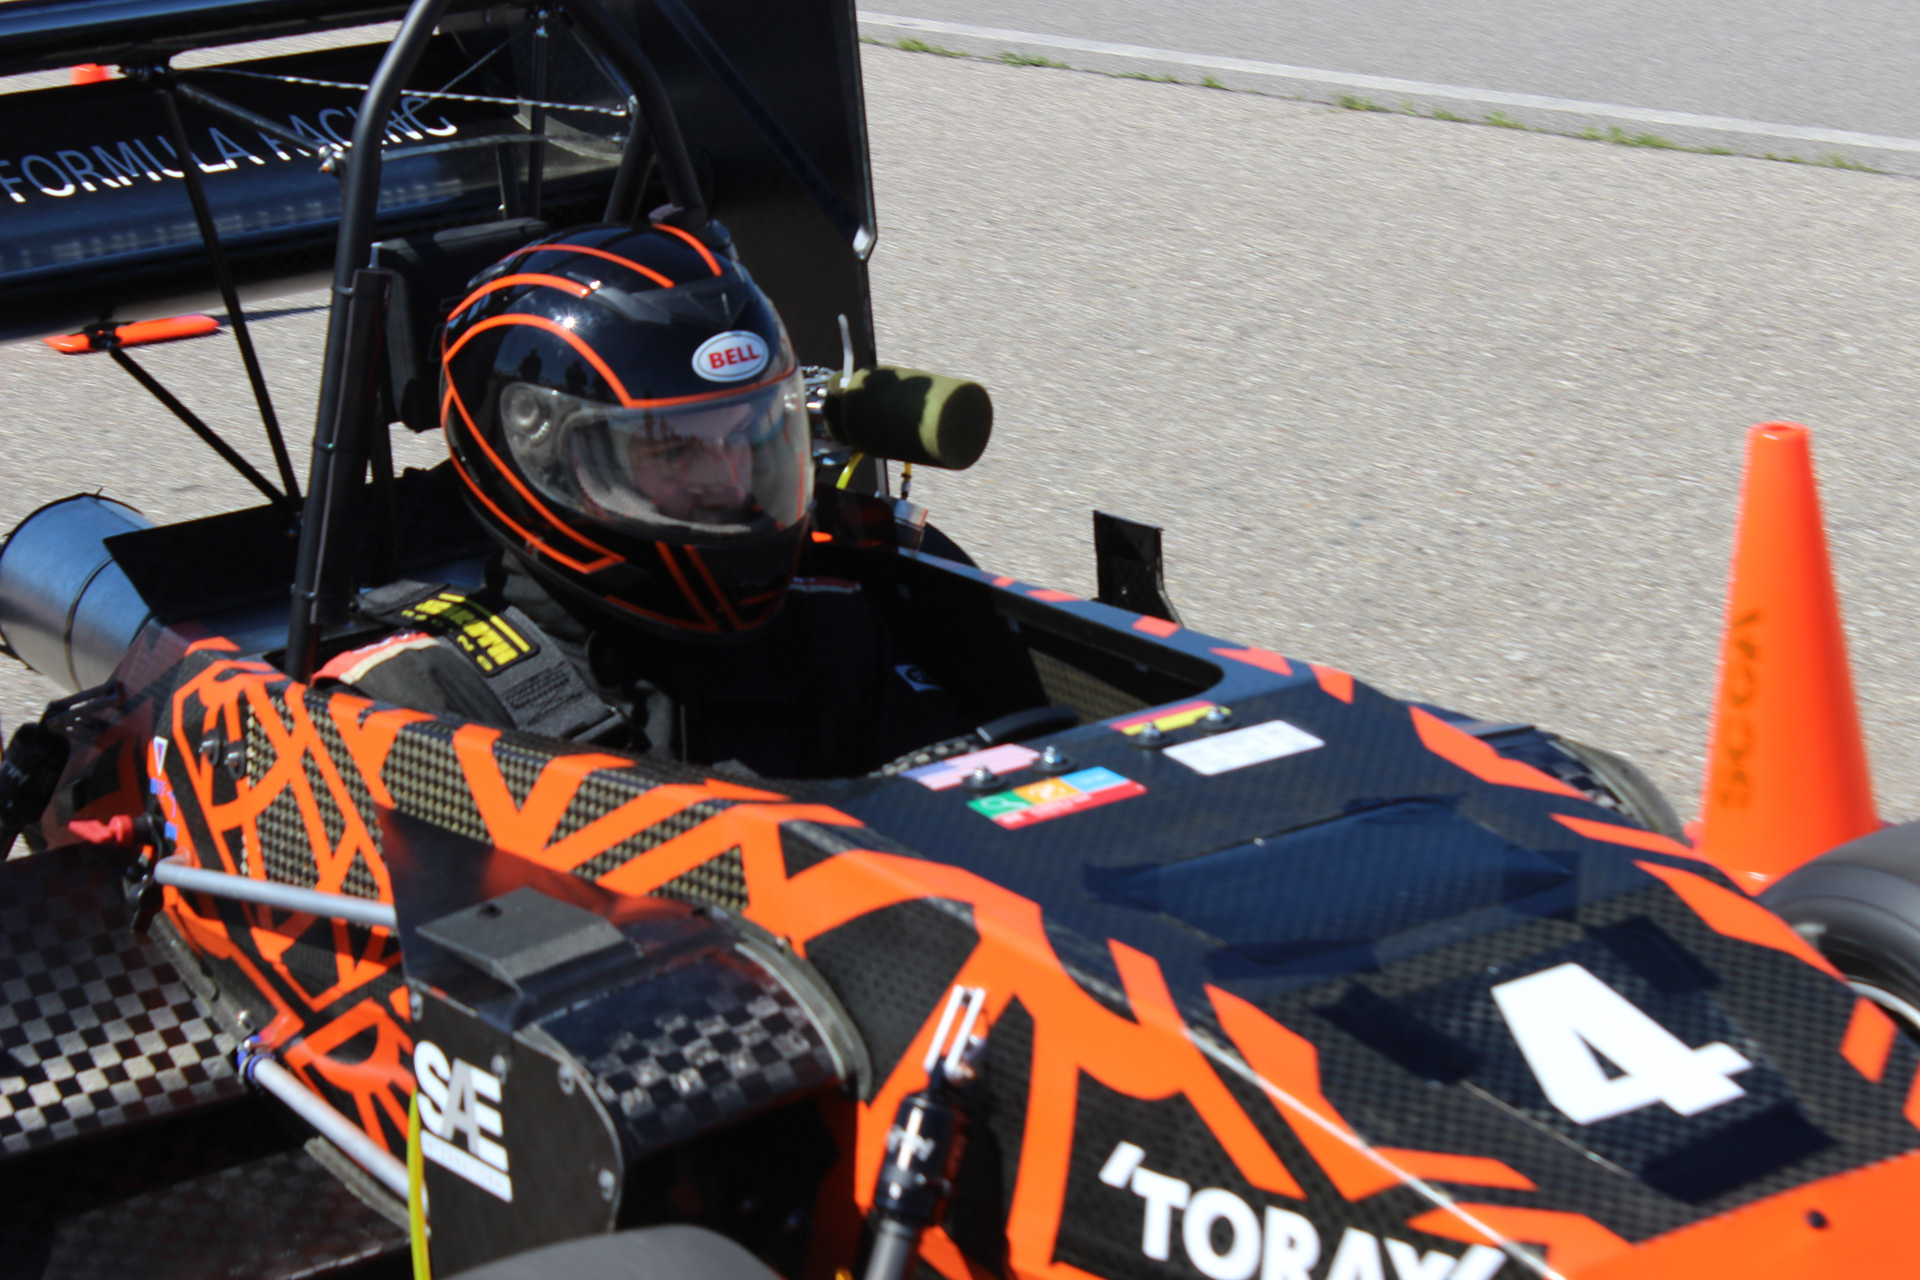
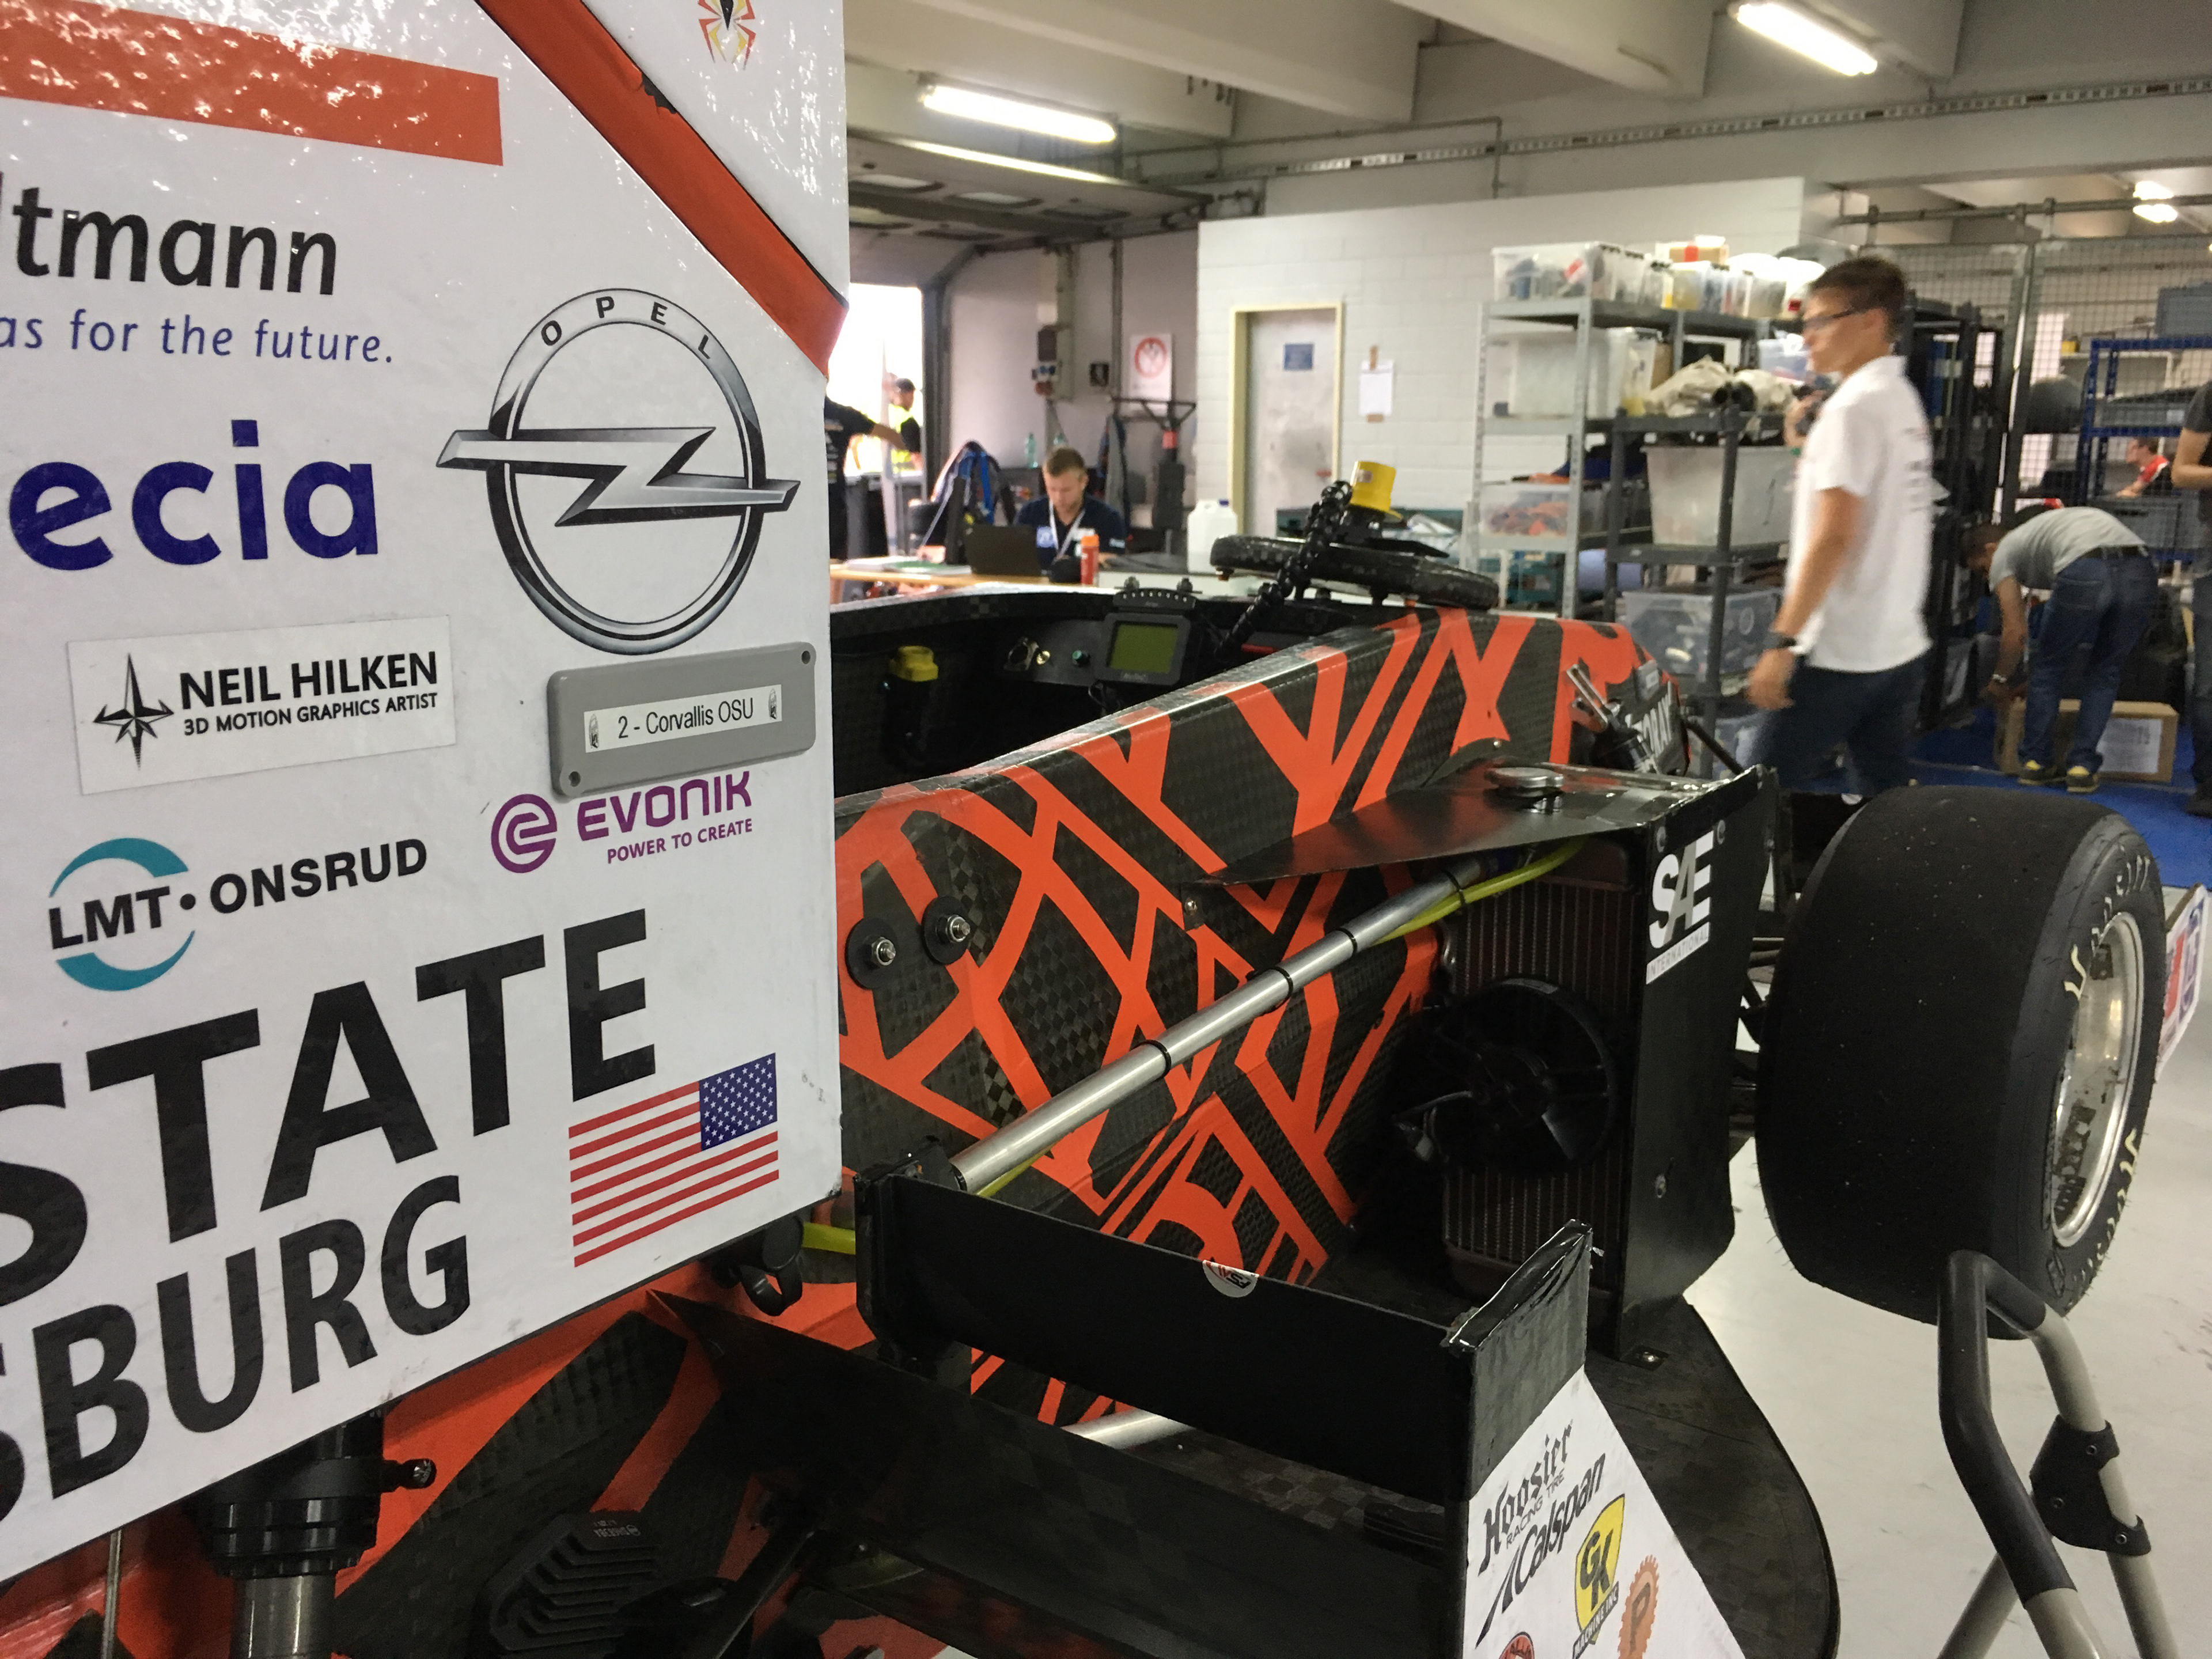
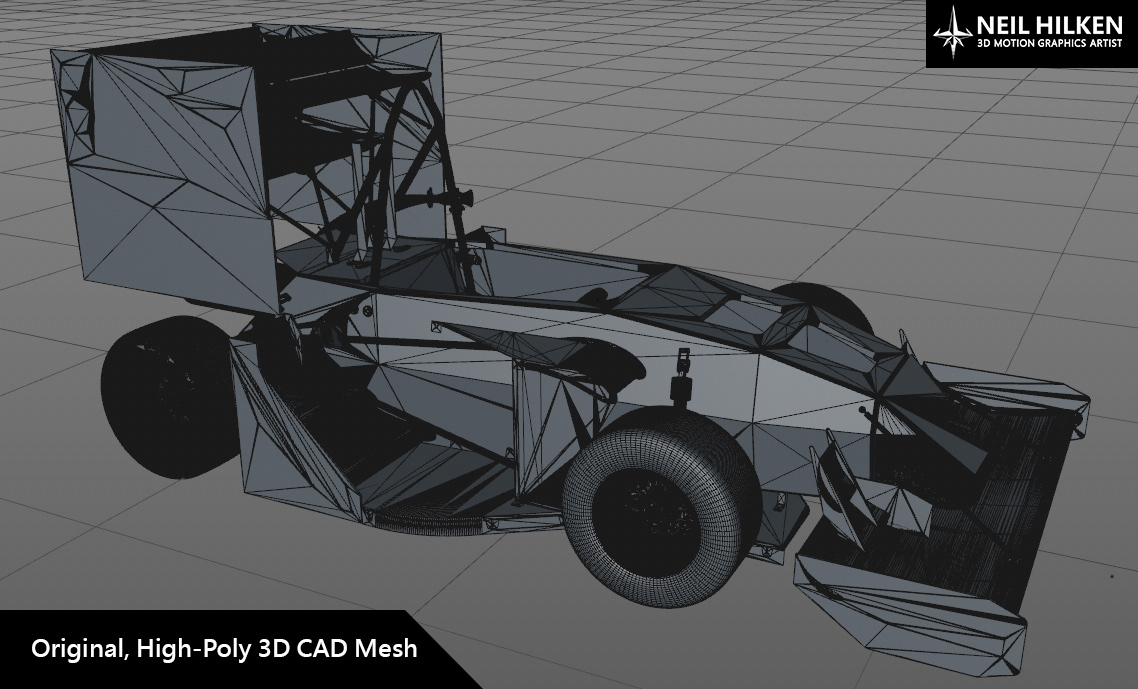
Having the real-world 3D model of the car helped streamline my process, as I only had to texture and light the race car model in the scene. However, 3D CAD models have their challenges in a 3D animation workflow, as often times they are more detailed than is necessary for an animated graphic. Generally the fewer polygons a scene has, the faster the 3D software will perform and the faster the final imagery will render.
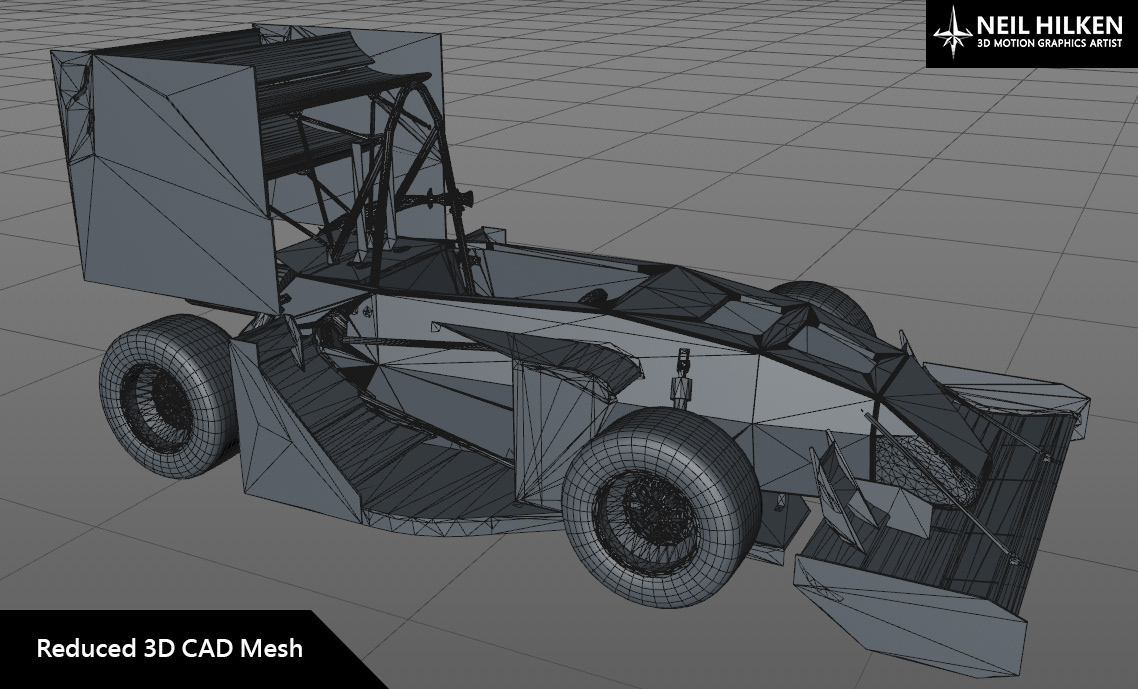
To keep the car model parts from becoming cumbersome in my workflow, I simplified and reduced the polygon count of almost every individual part that came with the CAD model.
3D WORK
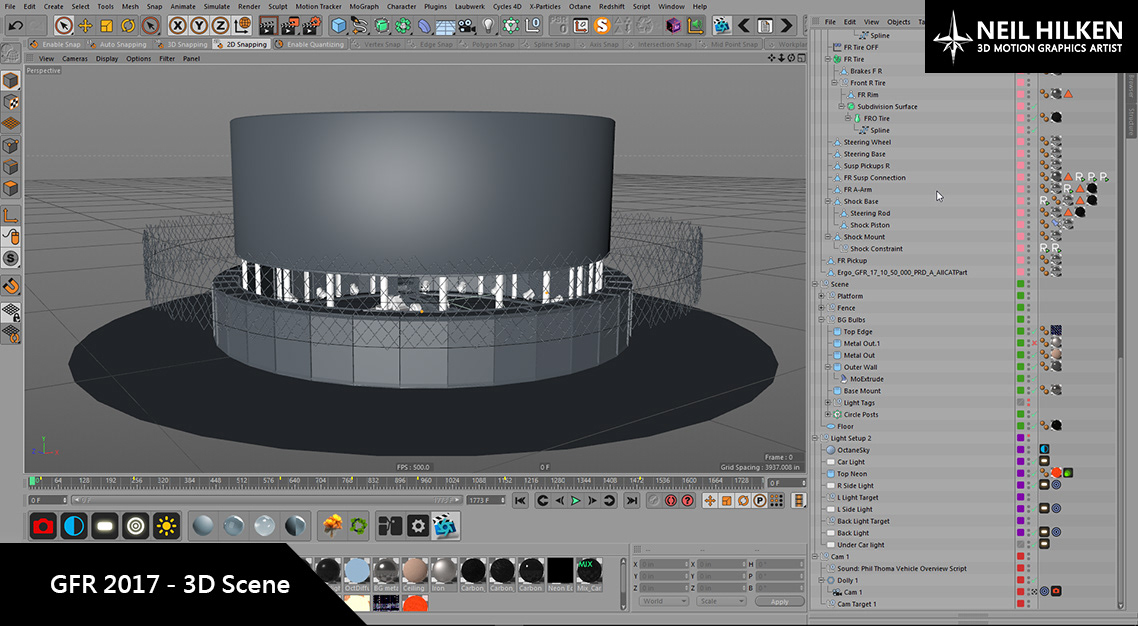
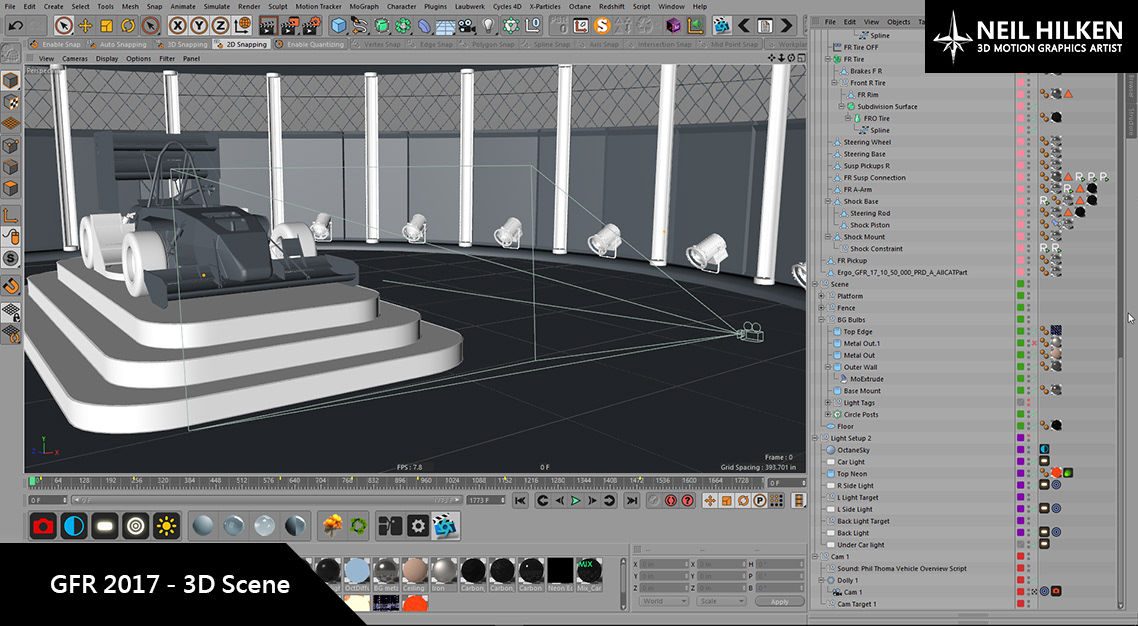
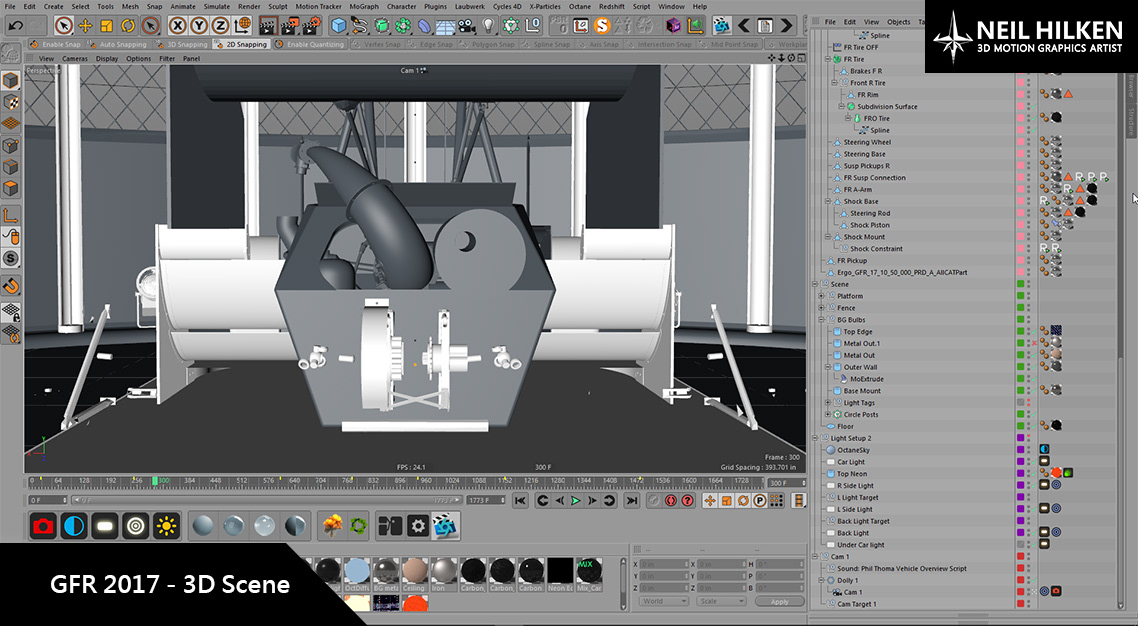
With the car model optimized in 3D, it was now time to design an environment for it to live in. I wanted to create a clean environment that would be easy to fly a camera around in and allow to car to look good from all angles. Below are some screenshots that show how the circular showroom environment & raised car platform were laid out:
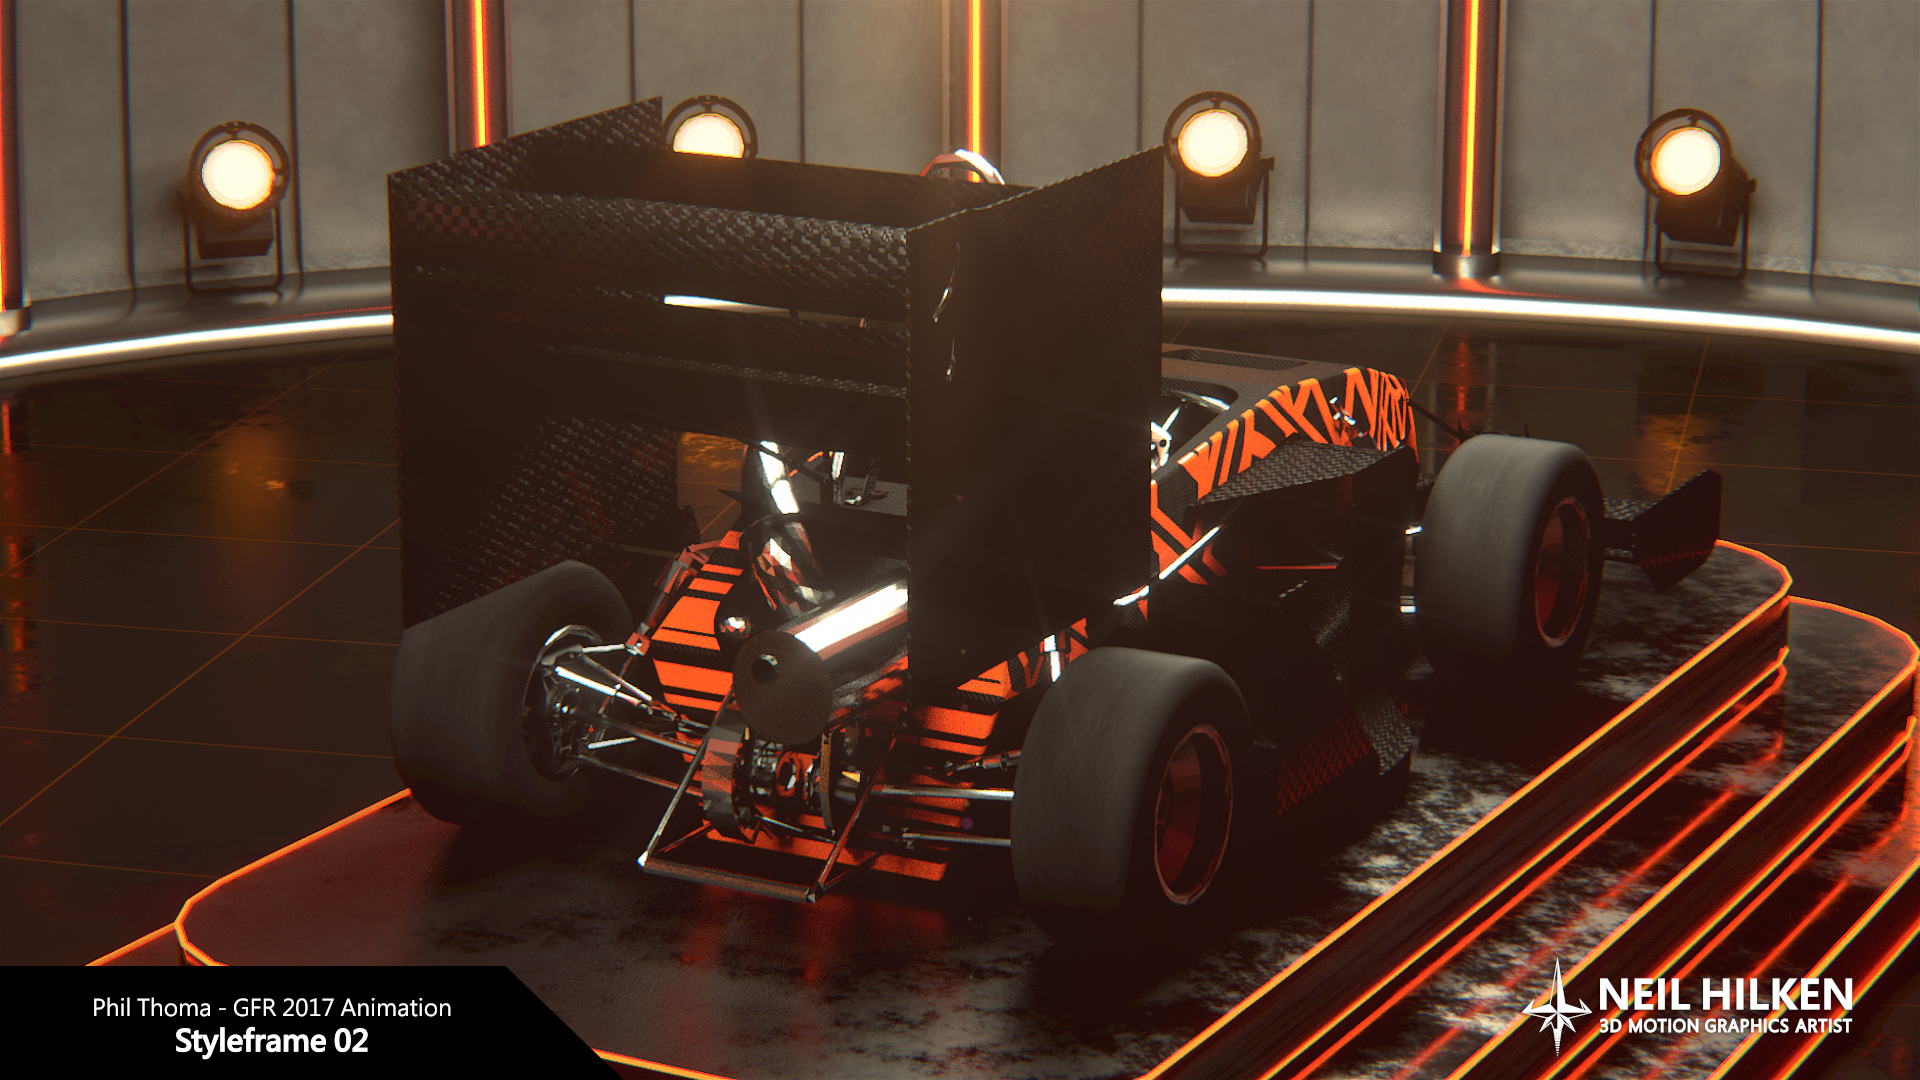
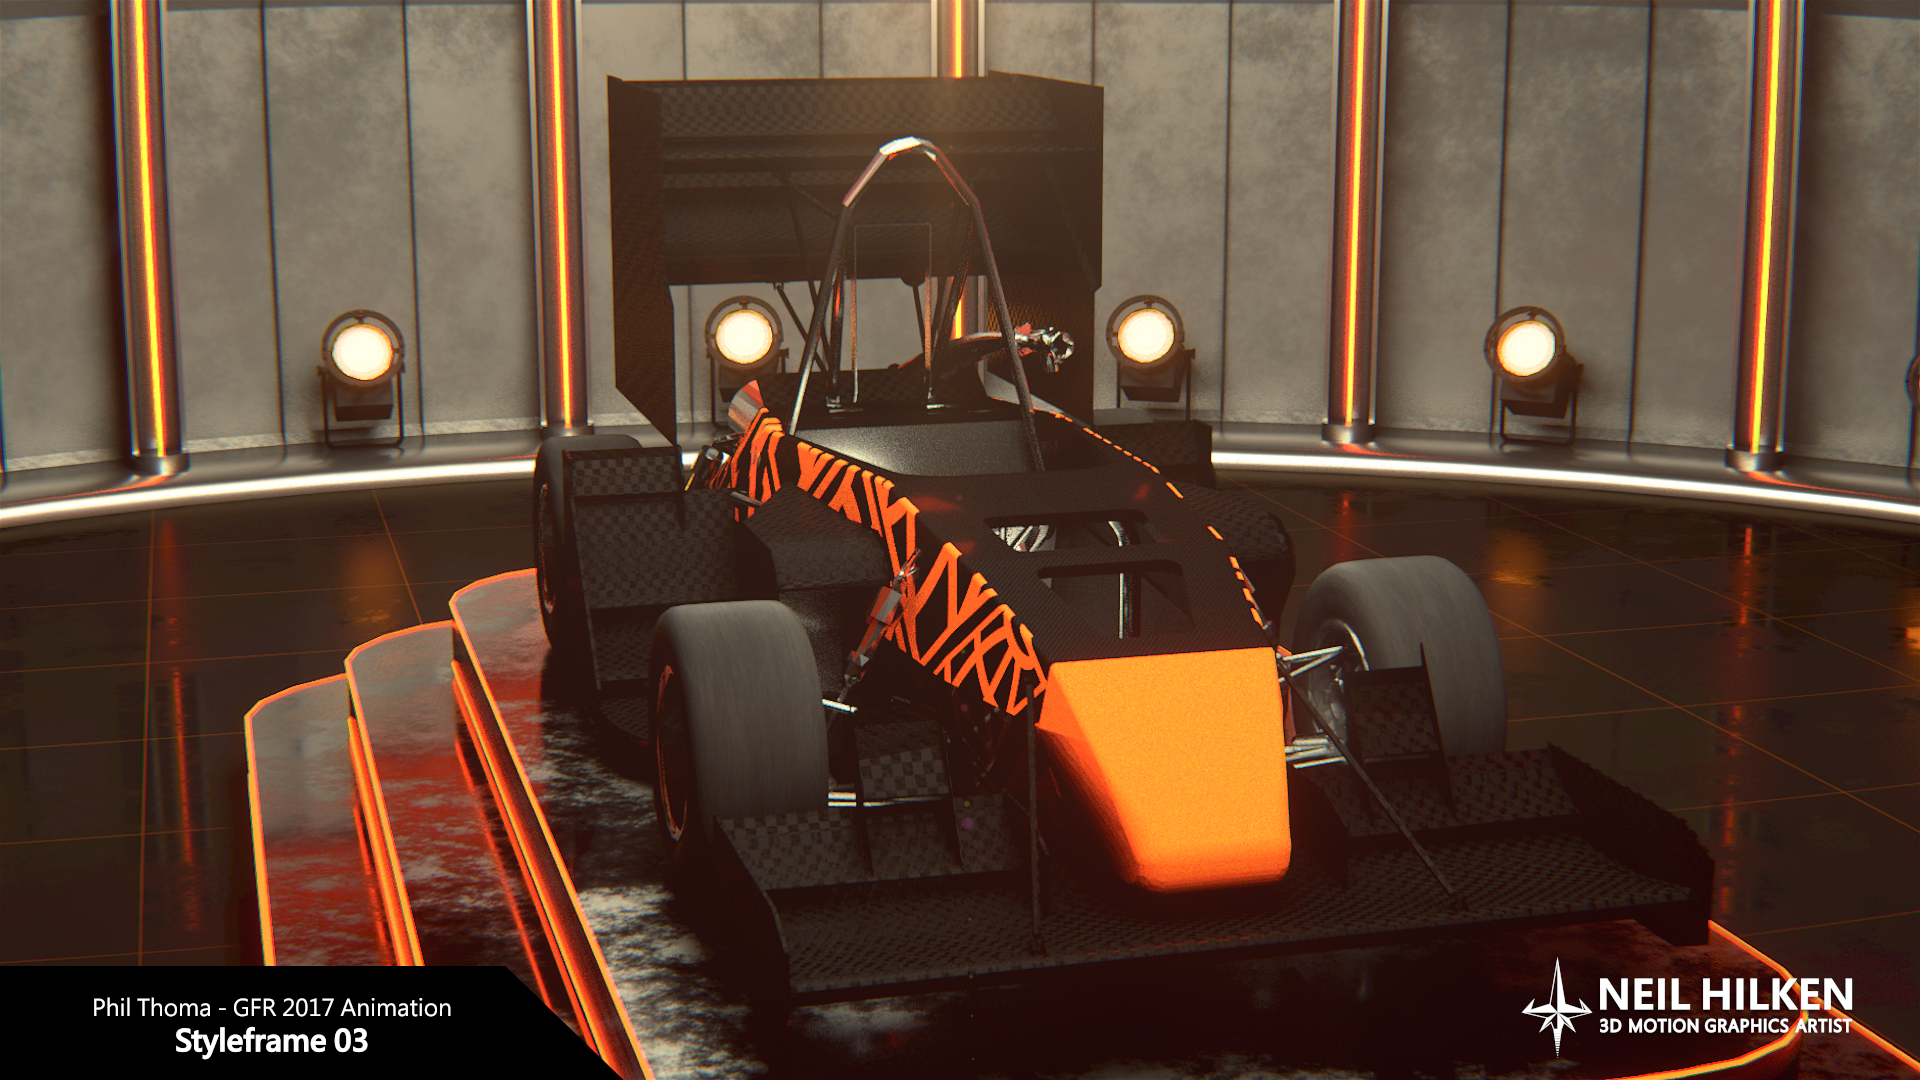
STYLEFRAMES
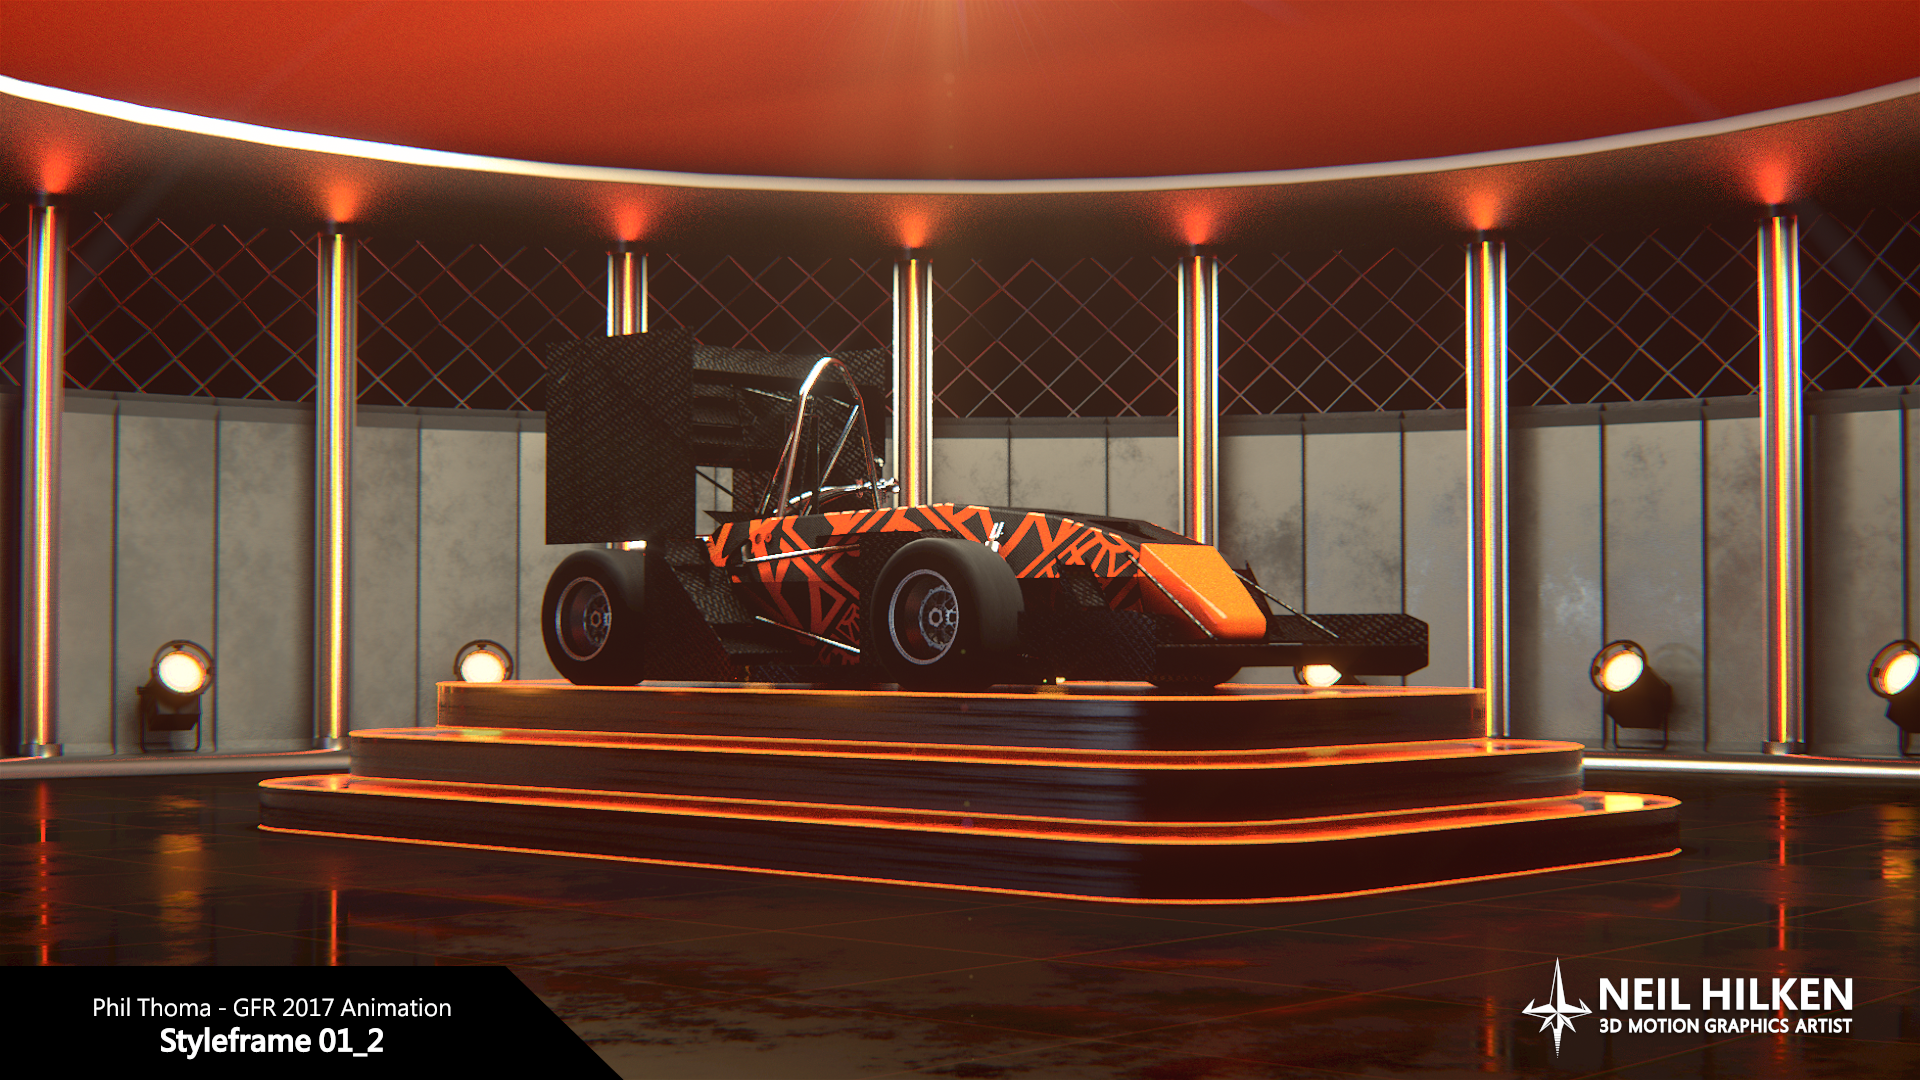
Before any motion is added to the graphic, the look must be approved by the client. So, I rendered out and composited several different angles of the car & showroom as still images to show what the final design would look like.
Below are the initial design frames I came up with for the client:
Below are the initial design frames I came up with for the client:
ANIMATICS
After the look of the styleframes was approved, the next phase was animating the 3D camera and all of the car components. It took a few rounds of animatics to lock down the motion for this piece, but this is what one of the final animatics looked like:
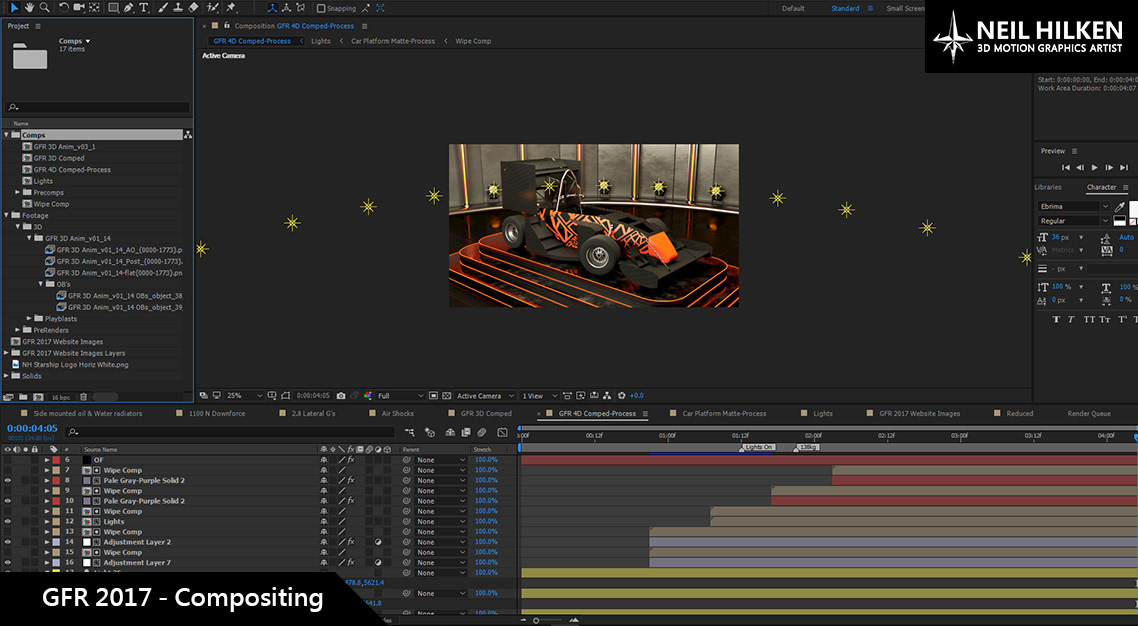
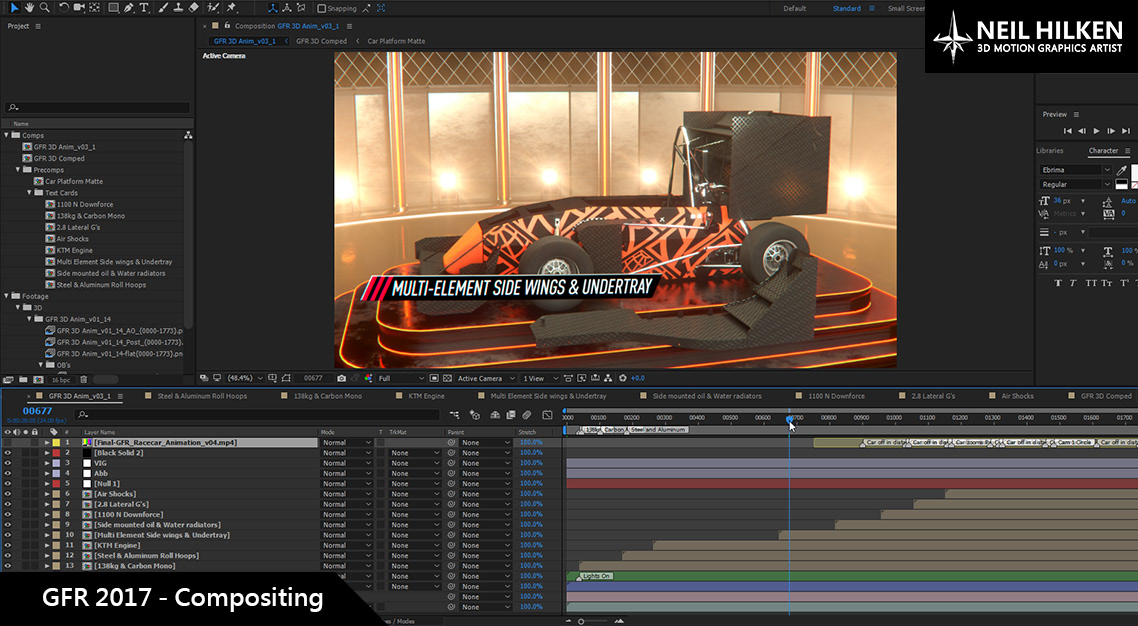
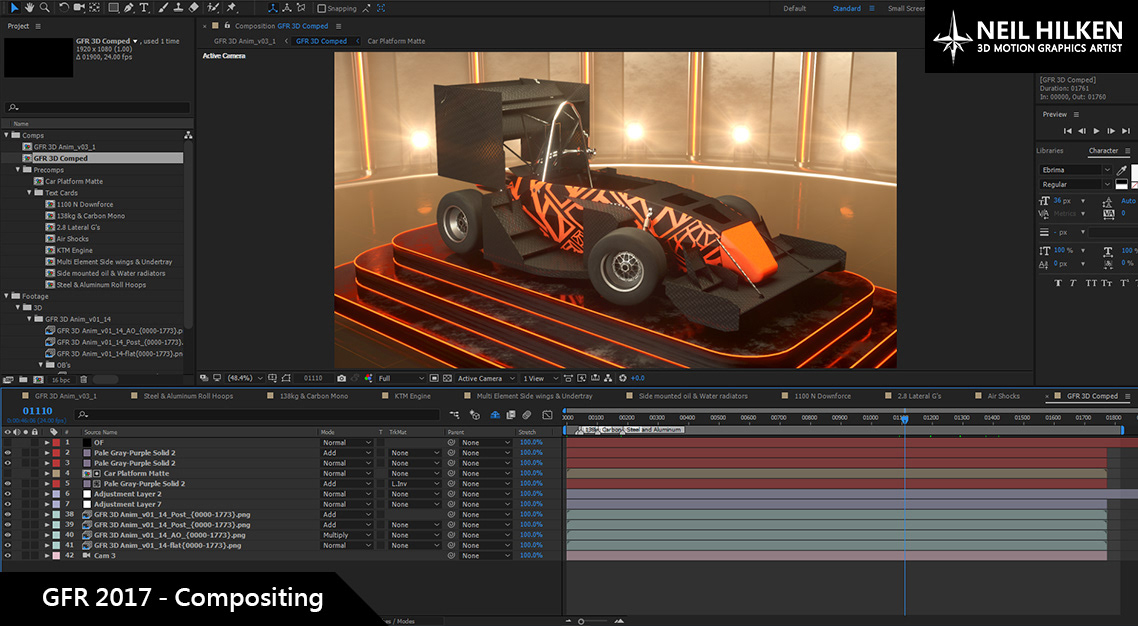
COMPOSITING & 2D ANIMATION
Once the 3D animatic timing was approved and locked, I rendered out the sequence as different layer passes from Cinema 4D. This included a diffuse, ambient occlusion, and post effects passes from Octane Render along with object buffer passes for every main object in the scene via Cinema 4D's standard render.
I typically do multi-pass compositing for my more complex projects, as it allows for more control over the image's separate parts during compositing. Having access to the different layers of the scene can be a huge time saver for projects that take a long time to render out of 3D.
You can see how the different render passes stack up together in the GIF below:
You can see how the different render passes stack up together in the GIF below:
Once in After Effects, I imported the 3D scene data from Cinema 4D into my composition so that I could add extra lighting effects and place the 2D text call-outs appropriately in the scene.
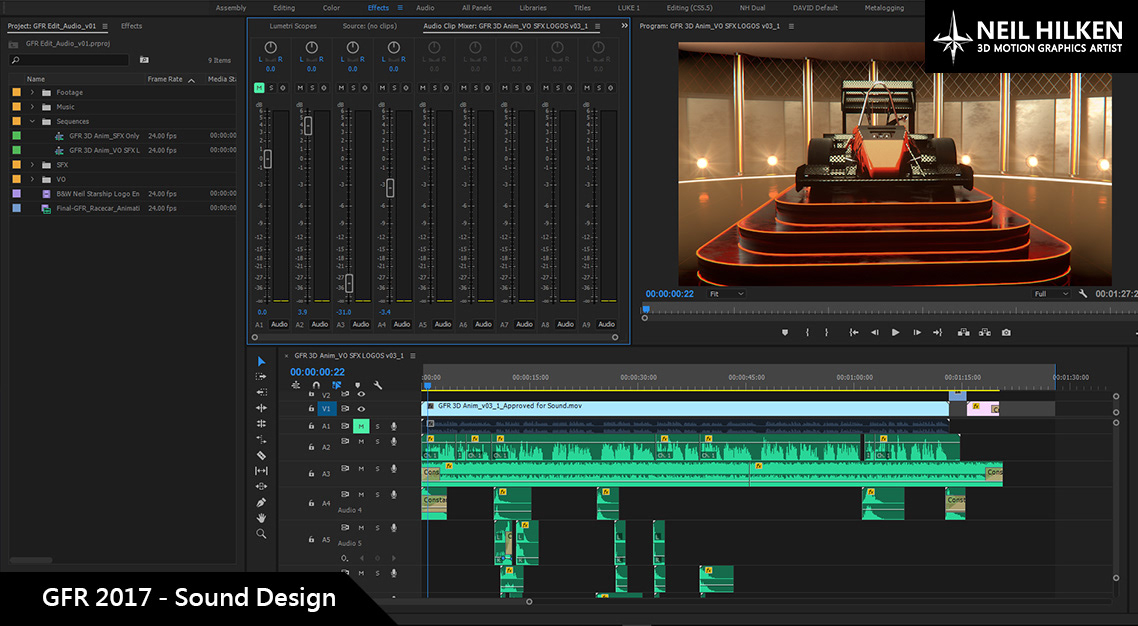
SOUND DESIGN
An animation is never complete until it has some sound design to accompany it. Upon rendering out the final animation, it was time to take the video file into Adobe Premiere and add in music and sound effects. Below is a screenshot of what my simple setup in Premiere looked like:
Thanks again to all those who helped make this a successful project!